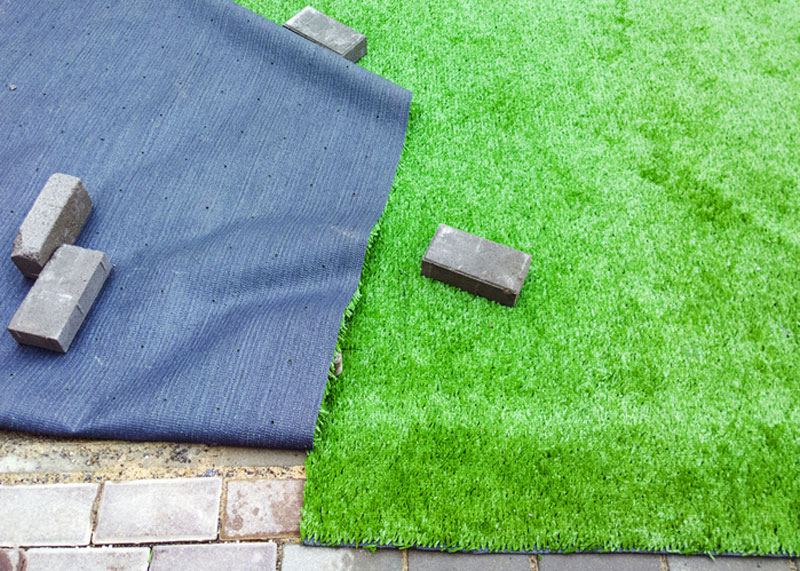
The popularity of outdoor artificial grass is really no mystery; this alternative to natural turf keeps its colour and bounce for longer than the real thing, and requires less maintenance. In a time of environmental concern, it is additionally much better for our planet than a lawn that needs constant watering and maintenance. Furthermore, artificial turf is a lot harder than natural grass; it’s tougher to damage a fake grass lawn than it is an organic one.
It’s not impossible for an artificial turf lawn to become damaged, however, and that’s what we’re here to help with today. If your turf sustains damage, you’ll find the essential tips below to help you put things right.
Is Your Artificial Turf Really Damaged?
The first step in fixing a problem with artificial turf is a simple one: recognising the difference between damaged turf that needs repairs, and that which simply needs a spruce-up. For example, if you have noticed that the grass fibres look flatter than they should, this is nothing to worry about. It tends to come from the lawn being walked on, used a lot or even from heavy rain, and is usually something that can be fixed in no time at all with a rake or a stiff brush.
Additionally, you may notice the occasional weed poking through. This shouldn’t happen, and won’t if plastic membrane has been correctly laid before the turf went down. If you do notice weeds, however, they can usually be quite easily removed, and they should be very few in number.

How to Repair
On occasion, however, there will be issues that require more definitive intervention, and this is what we’re going to help with. Damage to artificial turf can come from a range of causes: rips and tears can be caused by sharp, edged tools or furniture being placed on the turf; cigar or cigarette butts can fall on the surface, causing burns and scorches; poorly-fitted turf can come loose and ripple. There are other causes of damage, but these are some of the main ones. The same simple step-by-step process is advised for repairing the damage in any case.
You will need: some spare turf; a sharp knife; a vacuum cleaner; a large quantity of turf seaming tape; a hammer and some small nails; some coloured painters’ tape; seaming adhesive; a small trowel; sharp scissors; some spare infill (usually silica sand).
- Assess the direction of the “gauges” – the tufted fibres in the backing of the turf. This will allow you to match a replacement piece for the bit that needs to be replaced.
- Vacuum out the infill – the synthetic sand used to help tufts stand up – from around the damaged area. This will help ensure the cut you make in the backing is precise.
- Separating the fibres from the backing, expose the area that needs to be cut. Using a sharp craft knife, cut the damaged area and lift it out. Use this damaged part as a template to make the replacement piece.
- Cut out a piece of seaming tape larger than the hole you have made in the turf. Roll this into a tube and insert under the edges of the hole, then roll it out so that it occupies the entirety of the hole. Secure this in place with small nails.
- Go around the outside of the hole and, using the painters’ tape, tape back the tufts of artificial grass. This is important as you don’t want to get adhesive on the intact fibres, necessitating a more extensive repair.
- Using the seaming adhesive (ask at any hardware store if you are unsure what to use) and the trowel, achieve an even spread on the seaming tape. Be sure to spread some adhesive underneath the backing of the existing, intact turf. This will ensure a stronger bond between old and new turf.
- Fit the replacement you made at Step 3, pressing the piece firmly into the hole to ensure that it forms a firm bond.
- Remove the tape, and pour replacement infill to secure the repaired area. Keep checking the repair at regular intervals to ensure that any excess adhesive is not appearing on the surface.
- Using the sharp scissors, trim any excess turf fibres from the repaired area to ensure that the newly-placed turf blends in seamlessly with the existing part.
- Add any more infill if needed, brushing it in until everything is firmly blended.
The above approach is ideal for repairing smaller damaged areas of your artificial turf. If this does not work, or the fault is more extensive, then you may need to call in an expert to ensure a lasting, effective repair. Call Synturf today for a free quote.

